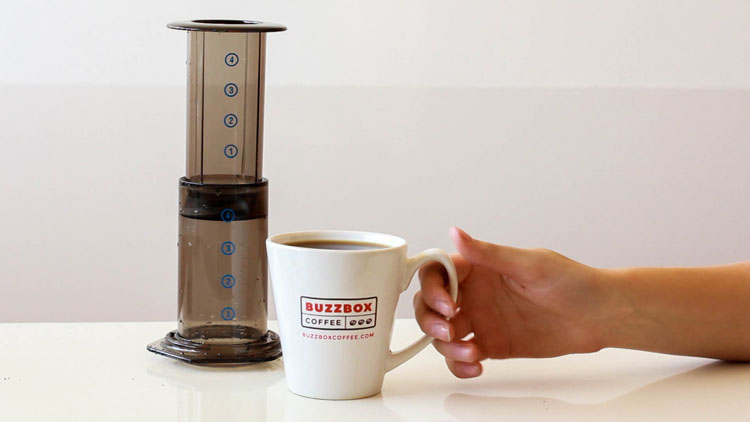
Brew Guide: Aeropress
Aerobie, the company that invented the Aeropress, is not a coffee company by origin. Their first product was actually the Aerobie Pro – A flying disk. Alan Adler, the founder of the company, had invented many disk-like toys before he invented the Aeropress. Today, Aeropress is Aerobie’s #1 product and an extremely popular method of one cup brewing. The Aeropress produces an espresso strength coffee and as a result, has become known as the “poor man’s” espresso.
Aeropress is a pretty easy brew and only takes around 10 minutes.
WHAT YOU NEED:
- Aeropress
- Tools Included
- Water
- Coffee
- Circular Filter
- Gooseneck Kettle
- Grinder
AMOUNTS
1 scoop coffee & 12 oz water (16 grams coffee & 355 grams water)

GROUNDS
You’ll want one heaping Aeropress scoop of finely ground coffee to start – a #4 grind on industrial machines.
WATER
Bring your water to a boil and then remove from heat. Never pour boiling water straight onto coffee grounds – it will scorch them and give your coffee a burnt flavor. Allow the water to cool for 30 seconds (the temperature should be between 195-205) before you proceed to the next step.


FILTER
Place the paper filter into the plastic filter, screw it onto the Aeropress and set it over your mug. From here, you can wet the filter with your hot water, to remove the papery taste and heat your press and mug. Dump out the water before proceeding.

ADDING GROUNDS/BLOOM
Drop the grounds into the vessel, and add just enough water to cover them. Let them bloom for 30 seconds before continuing.

POURING
After the bloom, pour more hot water into the Aeropress, until the water level is just above the blue number 3.


STIRRING AND PRESS
Use the paddle that comes with your press to give the grounds a stir for about 5 seconds, then place the plunger into the tube. From here, slowly press the coffee through the filter until you hear a hissing noise.

